Thursday 12 September 2013

Module 6 - Chapter 9

Decorated edges and borders

6.9.1

This is a lovely chapter and one I could have spent days on, if I had the time.

1) Trees. Simply torn edge with tree printing. A little extra colour at edges
2) Flower buds. Partial punch, cut into
3) Oak leaves. Bought punch
4) Random holes. Various sizes punched with my Japanese hole punch. I love it (the punch)
5 Oak leaves. As before but glued to edge

6) Weather vane. A partial hole punch for snowflakes.
7) Cogs. Not very cog like
8) Stitches. Machine made holes then hand stitched
9 Houses. Hand cut roves and hole punched squares
10) Wooly. Hand made slits with hand dyed pure wool threaded through.


I could imagine making an entire book just out of decorative edges, but I am looking forward to using some of these and others in my final book.

Module 6 - Chapter 8

Fun with photographs and Photocopies

I have certainly learned to do a lot more with my computer on this course.  During this module I came across some quite clever things such as speech bubbles, writing on photos etc.  However next time I thought about using them I couldn't find them.  Perhaps I should go on a Mac course one of these days.  However I have been using Picassa for years and it is very straightforward apart from the fact that right now I can't get a changed photo from where I have it to here!

Using photographs
This picture turned out far too simplistic.  The original pic shows the cow in a field looking over a gate with lots of others.  When I put him by himself I should have made the painting more interesting.  I would  not use it like this. Also he is not as well 'embedded' as he should be.


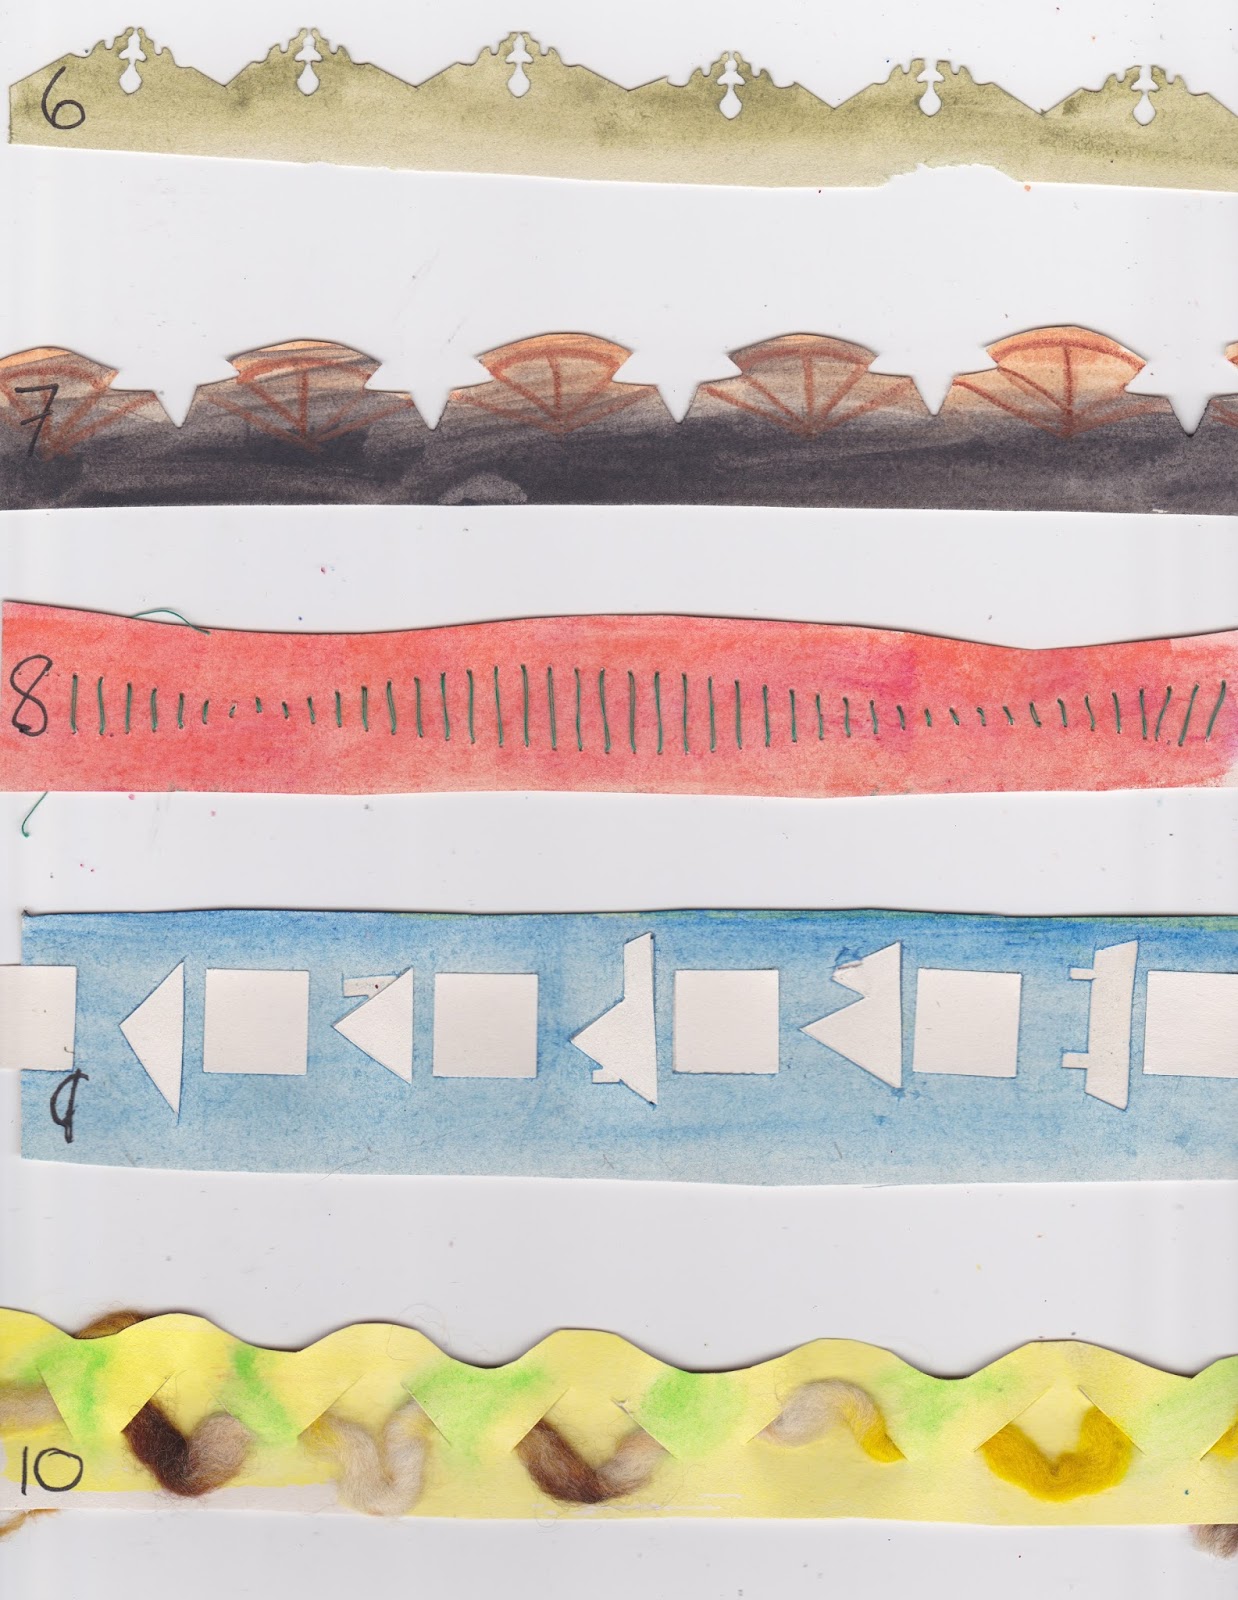
Cutting into strips or squares.
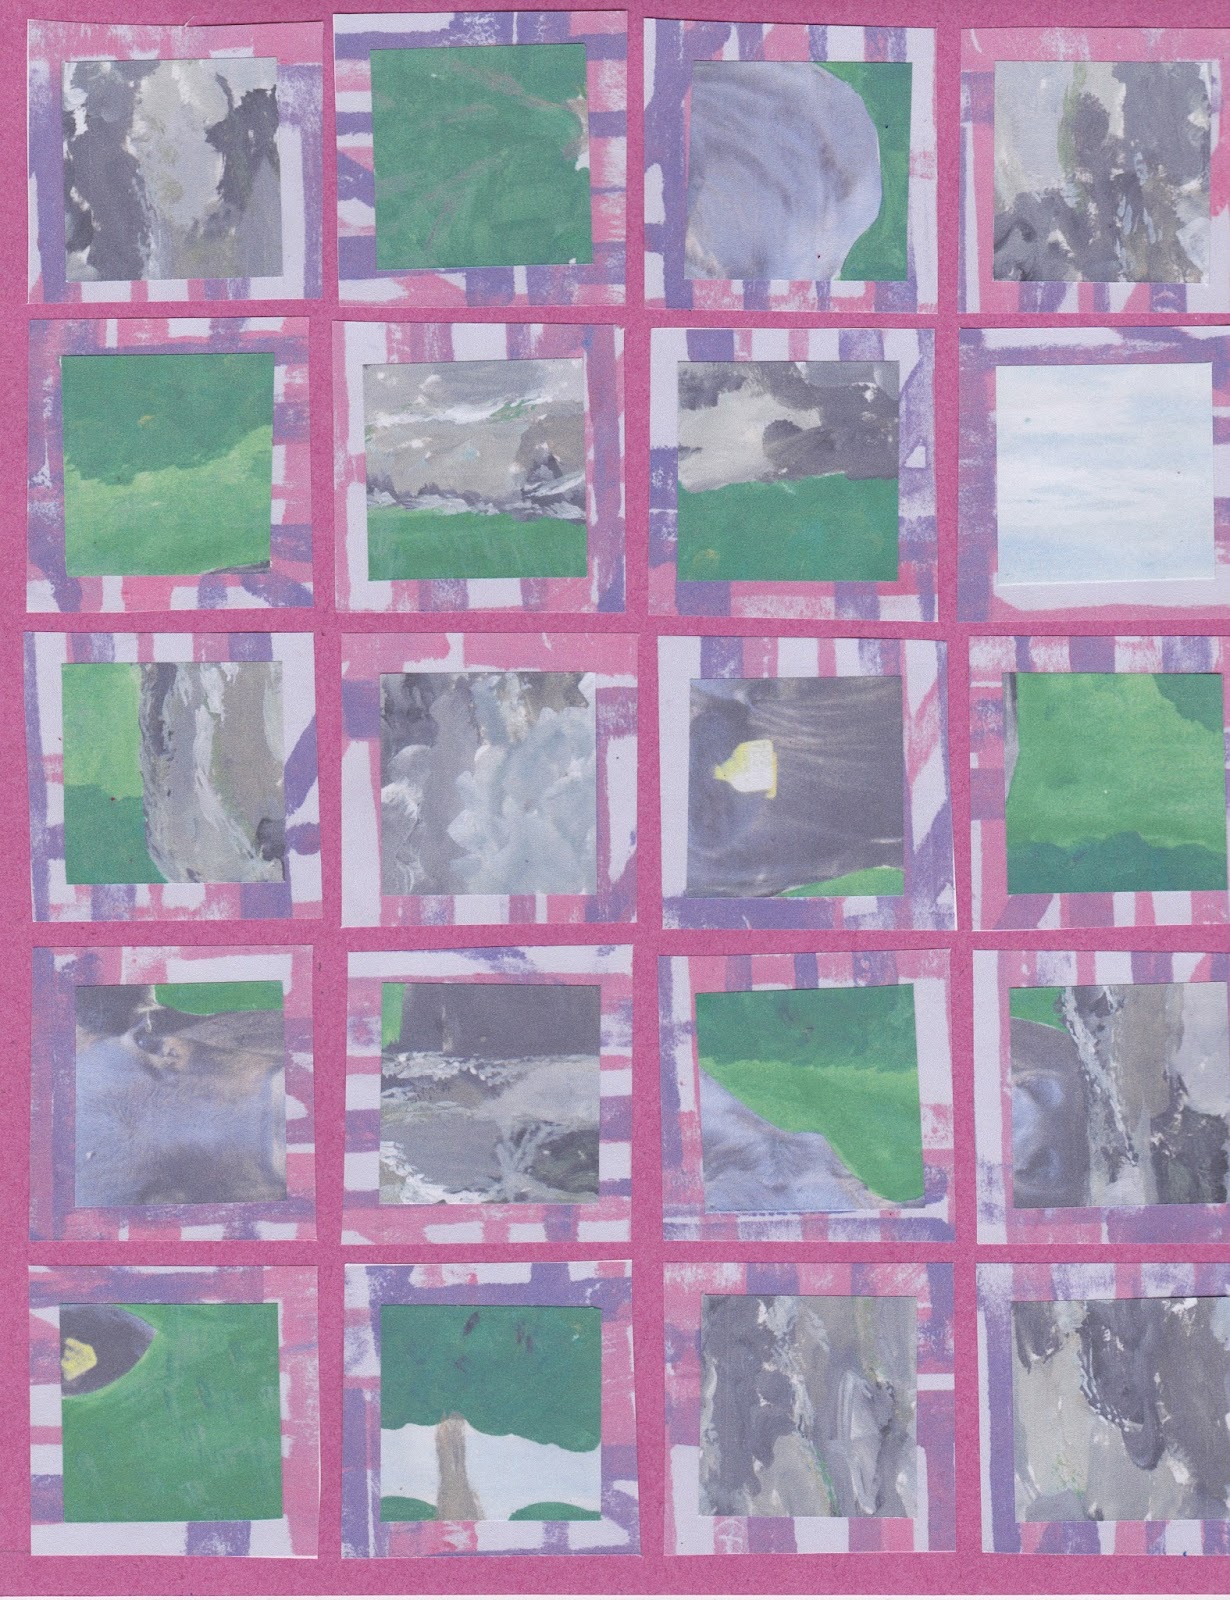
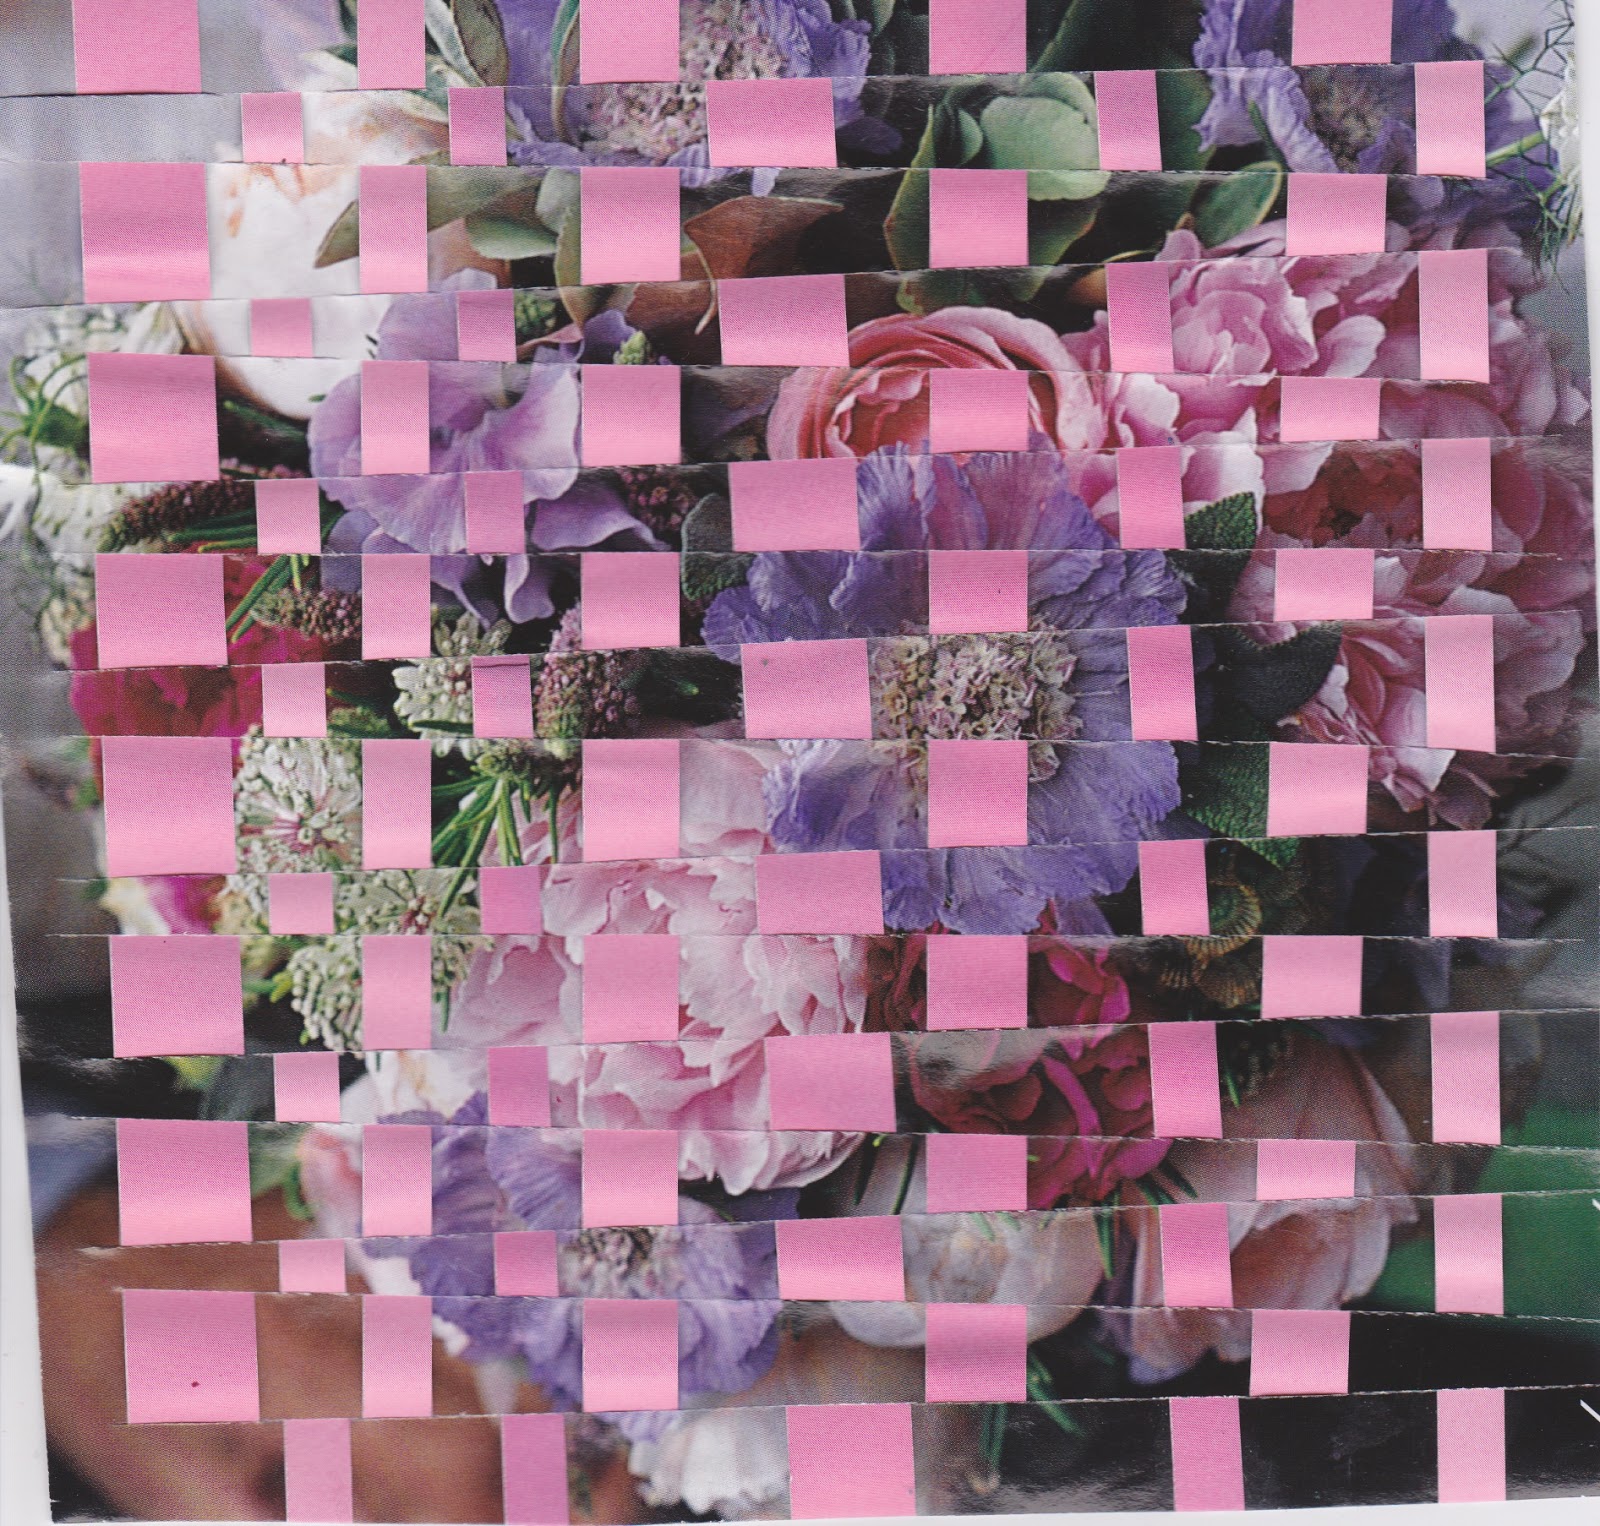
When I then cut the above picture up to rearrange it, of course it didn't look at all interesting, so I combined it with one of the gate pictures.

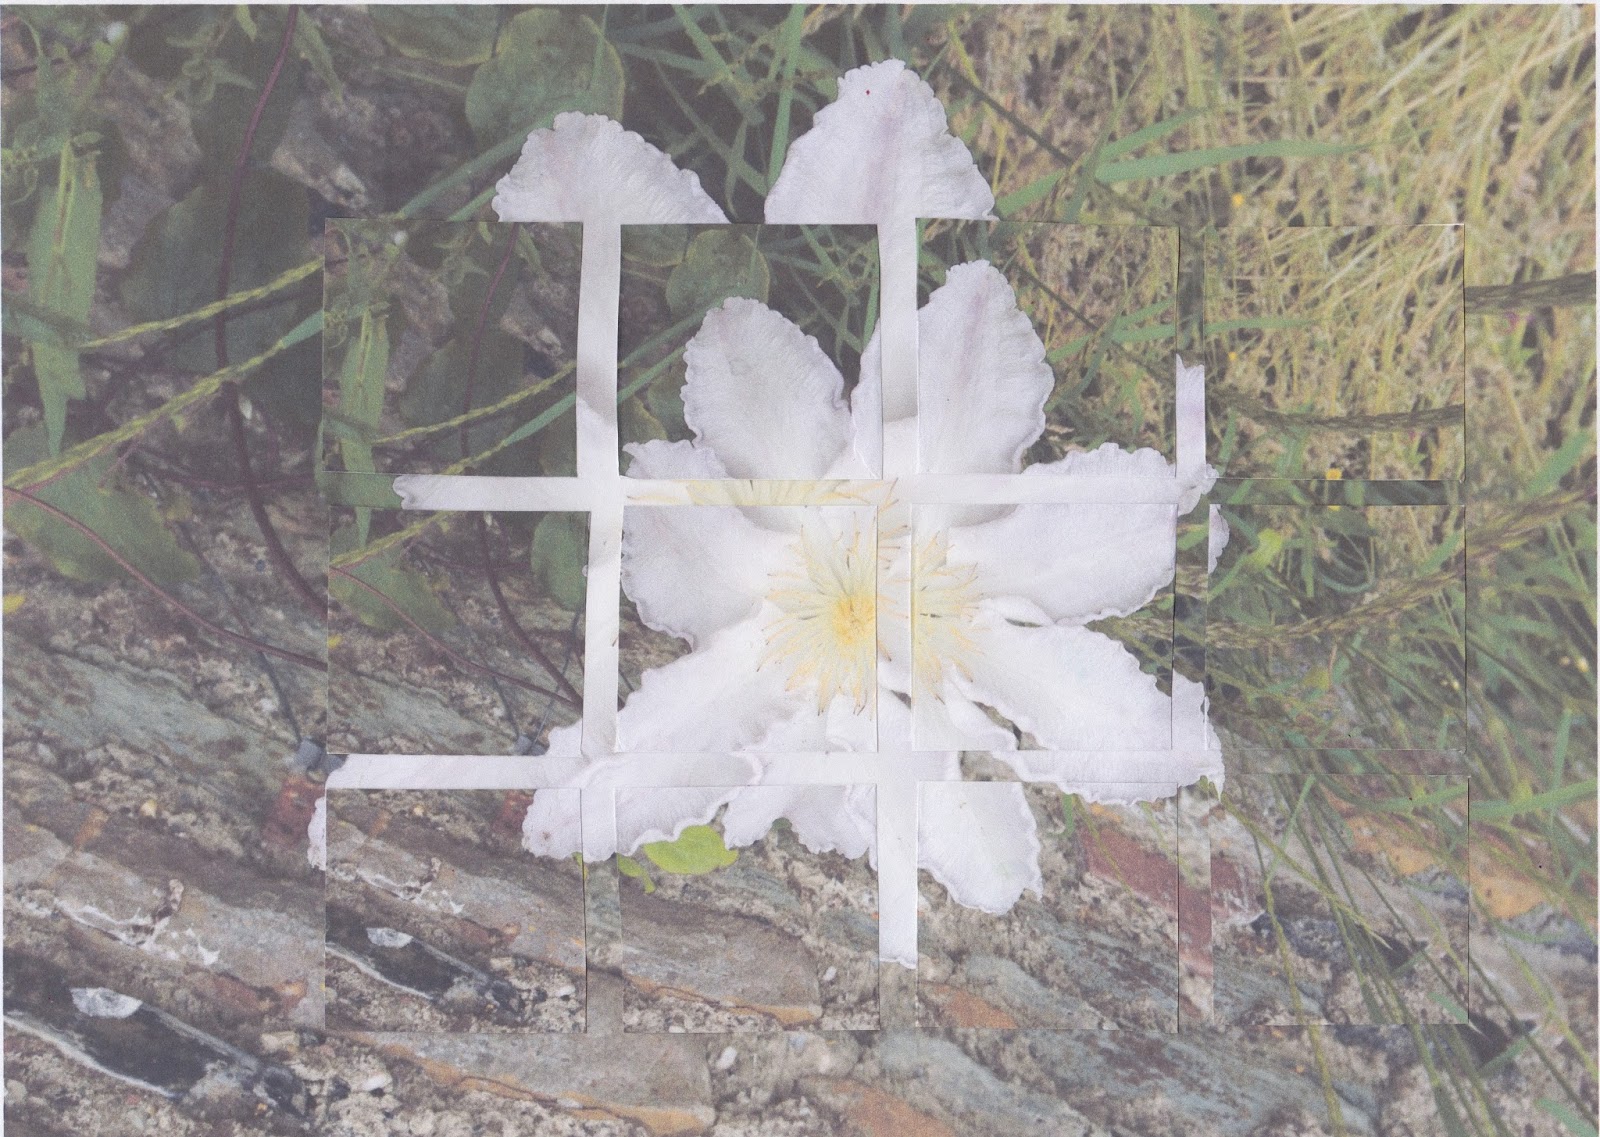
This is the same combination as above, but woven.


I tried a variation on the waterlilies picture, but oh it certainly does depend on the picture one is using. This was most disappointing.


Then I tried a different ratio with another picture, but still not good.


I have one of Sandra Meech's books, bought whilst on a course with her, so I have a ready reference to her work which is very useful.

In the last chapter I used the writing on one of my sheep pictures. Here it is again since I quite like it.


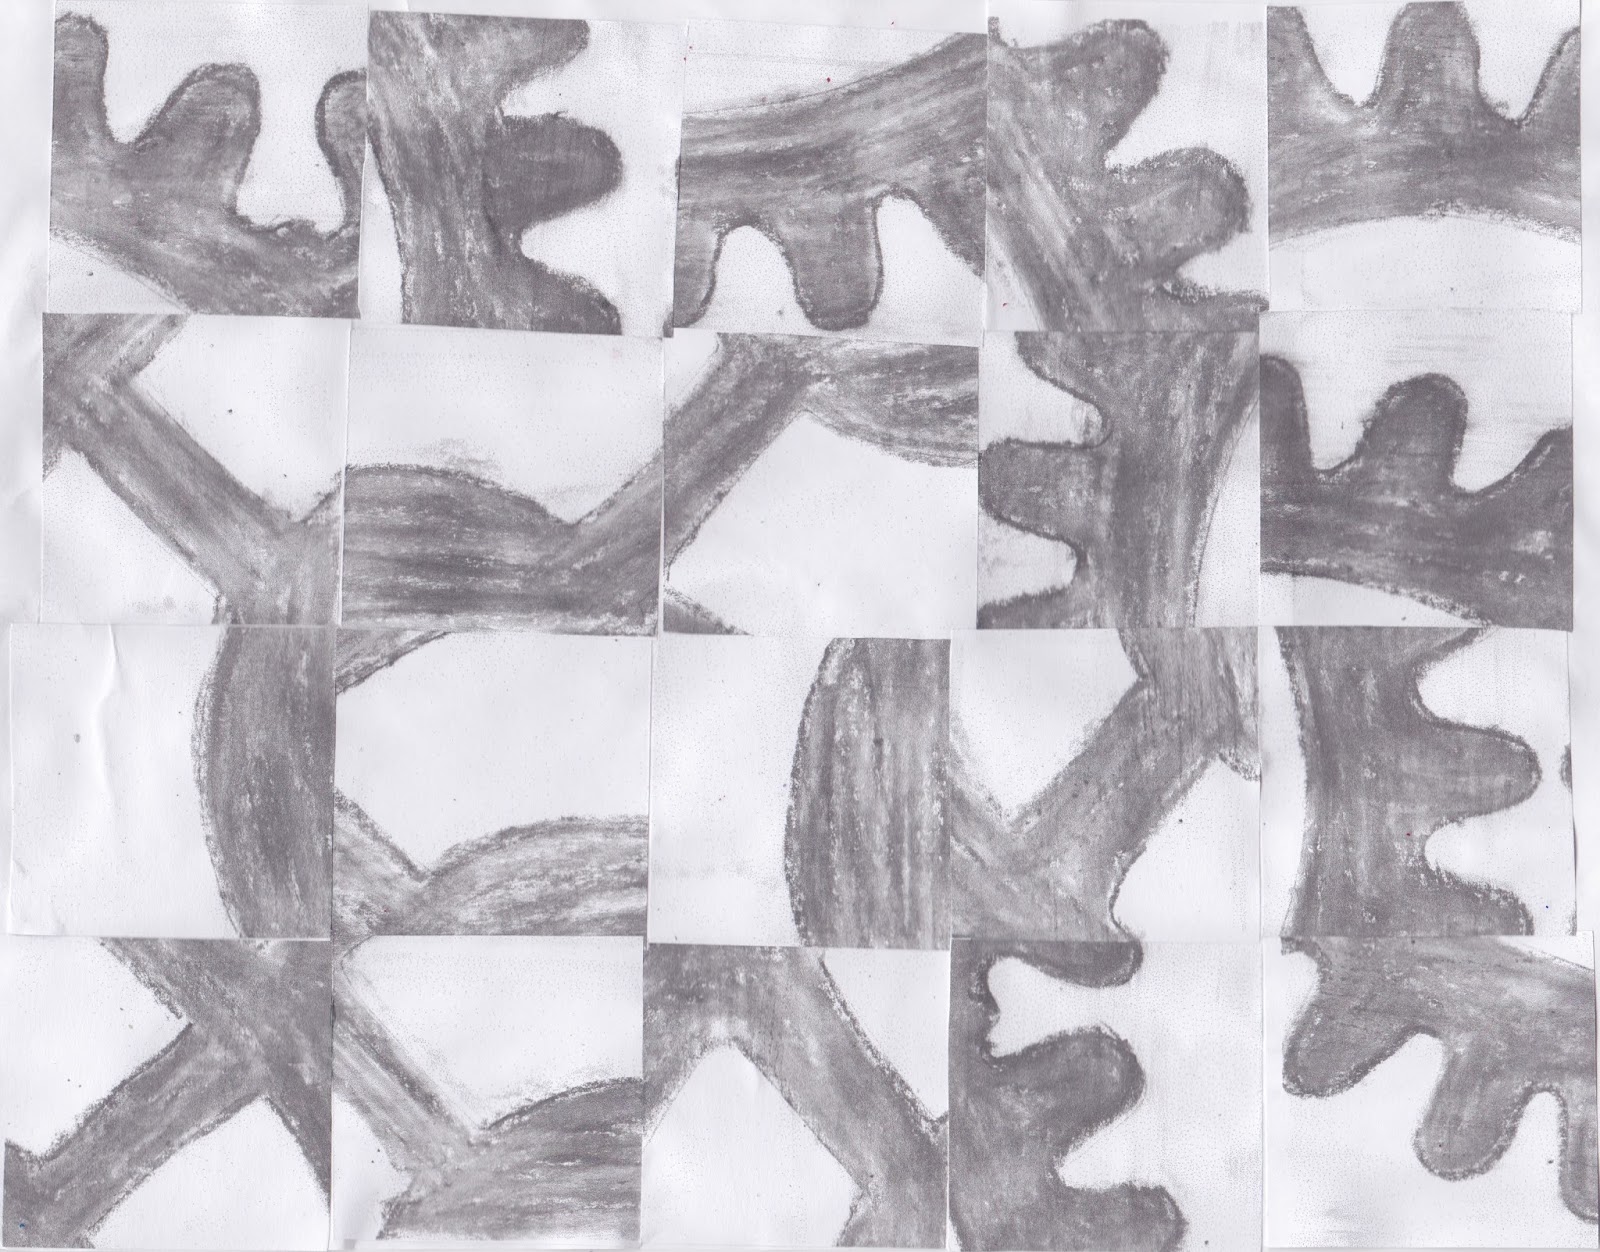
I used a black and white photocopy of one of my cog pictures cut up and rearranged.  I think this could have potential.


I used a black and white copy of the cogs and then painted over it with blue and pink Then glued torn strips of tissue with writing over the top.   It all looked rather dark and strange.  I then had the odd idea to print on it in white, using a foam block of a tree and my sheep, plus bubble wrap.  Looks quite out of place in this chapter.


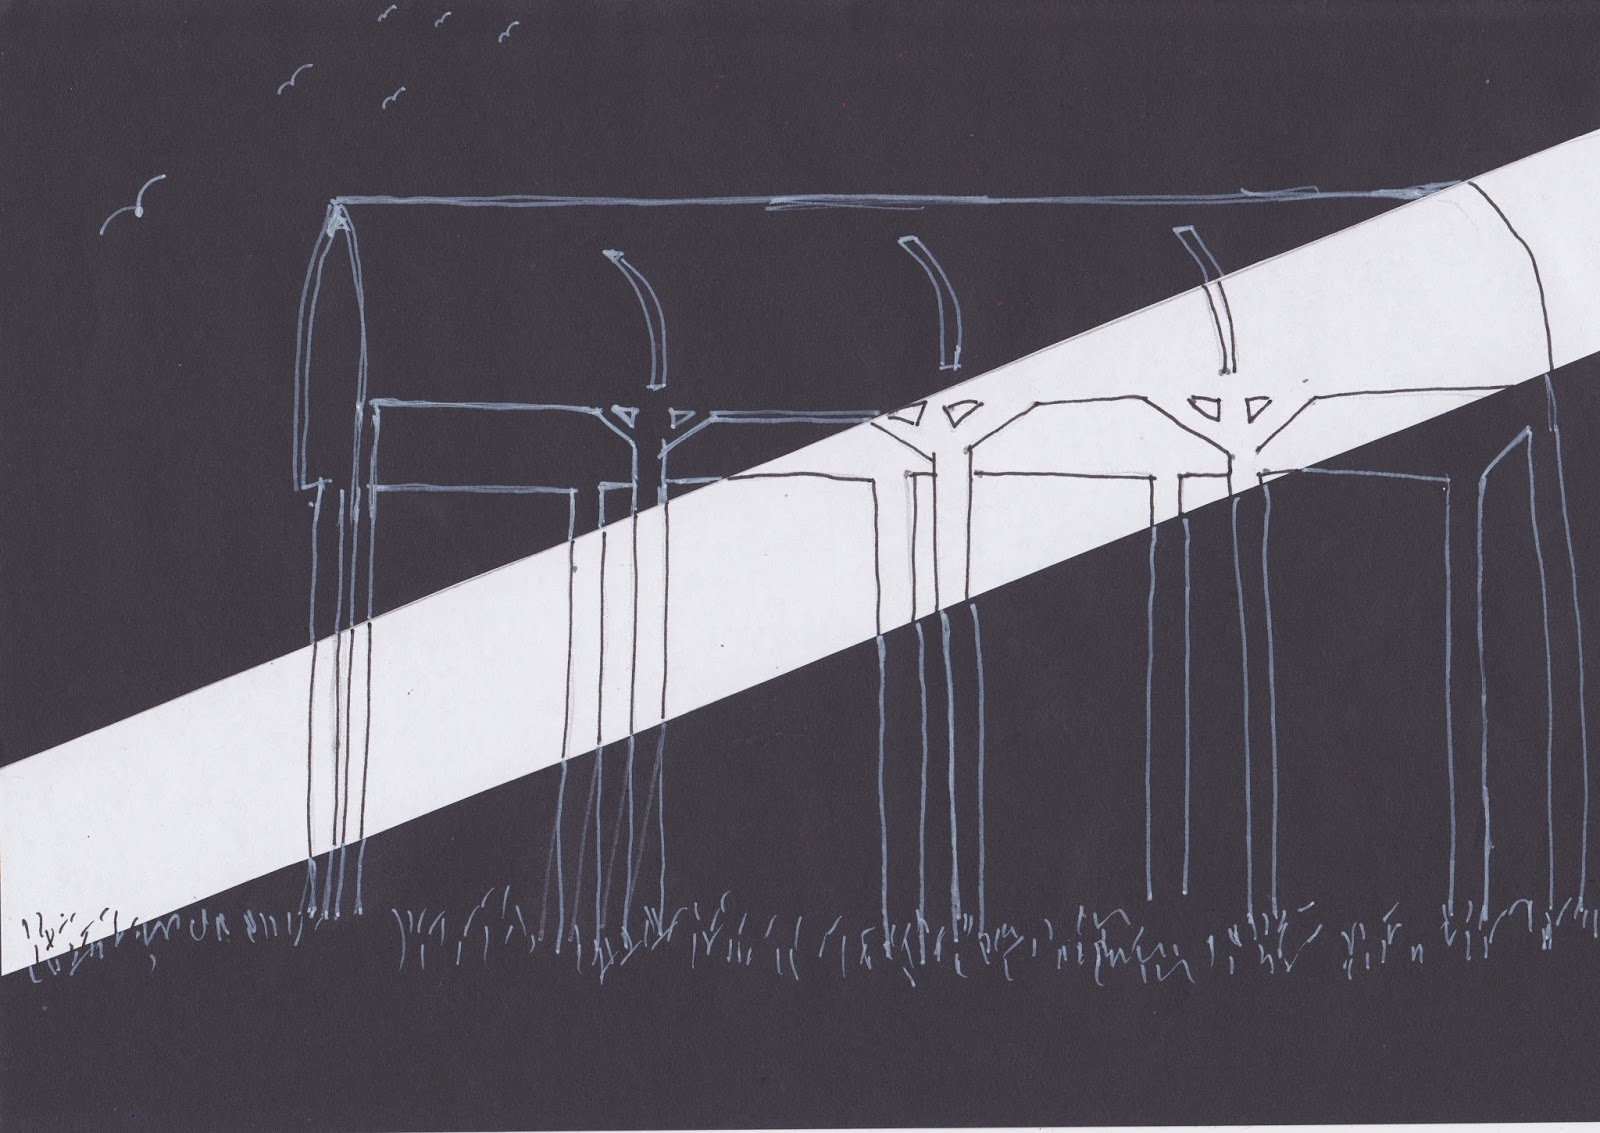
Take a fragment and draw to complete. I used one of my barn pictures that was on a transparent sheet to photocopy. The pen I used to draw on the black was tricky. It is a Zig Writer in chalk pastel white, but the odd thing was it is clear when you are using it and not white until it dries.  Makes things a little different. I should have switched to a white crayon.


The collage of photos included one I don't think I have shown before. It is a tiny baby pipestrelle bat. We found him in the sitting room and he was not even as big as the top joint of my thumb. When it started to get dark we put him outside and he crawled out of his box.  When my back was turned he disappeared. Apparently at that age/size if they call to their mother she can come and pick him up by the scruff of his neck and take him away.  Ahhhh.


This chapter was very informative and certainly covered an awful lot of techniques, many of which I need to give more time and attention and hope to do so soon.  I feel there is room for lots of improvement here.

Friday 6 September 2013

Module 6 - Chapter 7

MIXED MEDIA LAYERS

6.7.1

I started with the first idea by tearing pieces of magazine pages and sticking to a base layer, then doing a green wash, followed by drawing around shapes and then stamping with a home made stamp.

a)

b) Then cut and stuck some of my foxglove oil pastel drawings that I had photocopied in various sizes


c) These beautiful colours in a magazine, when woven together, also reminded me of my colour scheme.


d) But I didn't think much of this result. Torn shapes placed to give an impression of foxgloves


e) Perhaps a similar idea using my weathervane background would work, no not really


f) A change of subject. I used one of my lamb pictures that had not come out very well last time, made a larger lamb mask and stuck it in place.  Then I used an overbright wash of Inktense. Yes of course it is intense!  When I removed the mask I was disappointed with the result, so made another cut out, this time of tracing paper, stuck it on and darkened it slightly with a pewter oil pastel.


g) More cut outs, some overprinting of sheep breeds (there are hundreds of them) and a little sewing. I like this one.


h) Last year I made this hare, copied from a mug, into a foam stamp and have used him quite a bit since then.  I traced around a cut out onto a 'farm gate' page from the last chapter with progressively lighter/thinner pens and filled in a little with paint applied lightly with the end of a brush.  I could, I know do lots more with this lovely chap.


i) Sometimes when I start experimenting I get halfway through and wonder what the heck I am doing. This is one of those time.  The background is Markle over a extured background. The weird tree is hot melt glue, which obviously comes out lumpy, ironed to flatten it. Then I used foil over the top ironing it lightly to remelt the glue a little. Additional pale green paint then added on top.  I shall not bother with that idea again. The hare is cut out of tomato puree tube and textured by being pressed onto a cheese grater.  All a bit strange.


I have mixed feelings about this chapter. It is a very enjoyable one to do but I am feeling that I need to get on as time is running out.