and the back one
The whole book put together and opened out, covers are tied loosely back to back with the same ribbon used to bind the book.
Inside front cover
For the first page I made about 8 small printing blocks from foam and used them in different combinations to make the skyline. The pages are hand stitched with thread
I made Fishing line using tracing paper for the top fold out, hand stitched with French knots and the bottom fold out is lovely and crinkly with old Bondaweb backing paper. The snow is crumpled tissue paper. This is the closed page
and this is the opened up page
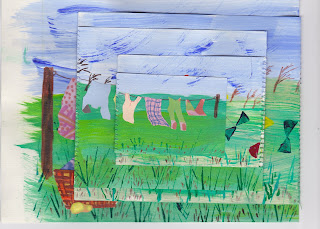
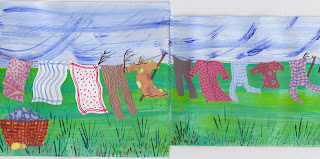
Washing line was so much fun I nearly did one or two smaller pages more. The pages are machine stitched. This is the folded up lot.
Then the opened out versions
Having painted the back of the above, it was just asking for something in the same vein, hence Kite line
Life line was a variation on something I had done before. In the folded version I have made a cut hole to show the place of my childhood and then opened out page is very brief life story.
Railway line was a bit of a pickle to do. I couldn't for the life of me find a decent picture to copy and so ended up making it up out of my head. Top left folds over top right, then both fold down and in.
Heavens I have just found out I can squish two separate pictures together so I didn't need the first one, still I better not try and remove it - heaven knows what might happen. Haa, they may be squished in the draft, but they separate on the preview!
Shipping line consists of four separate pictures, the first and last have extensions. The two smaller ones are just fastened in between. The idea is that you can see lots of other boats through the top ones. First and last pages are backed with tracing paper,
It seemed best to scan most of the pages before I put the book together, so hopefully that was OK. It is difficult to know sometimes if I am posting too many pictures (?) Anyway I very very much enjoyed making the book and could have gone on and on, but the samples you showed seemed to be about this size.
Thank you for another most enjoyable module - I look forward to seeing what module 4 has in store.


